Getting Started
This tutorial is structured in modules to get you acquainted with the basic functions of SCHISM using a demo model domain, “Hello SCHISM”. The model has two upstream rivers (River 1 and River 2), and an open tidal boundary.
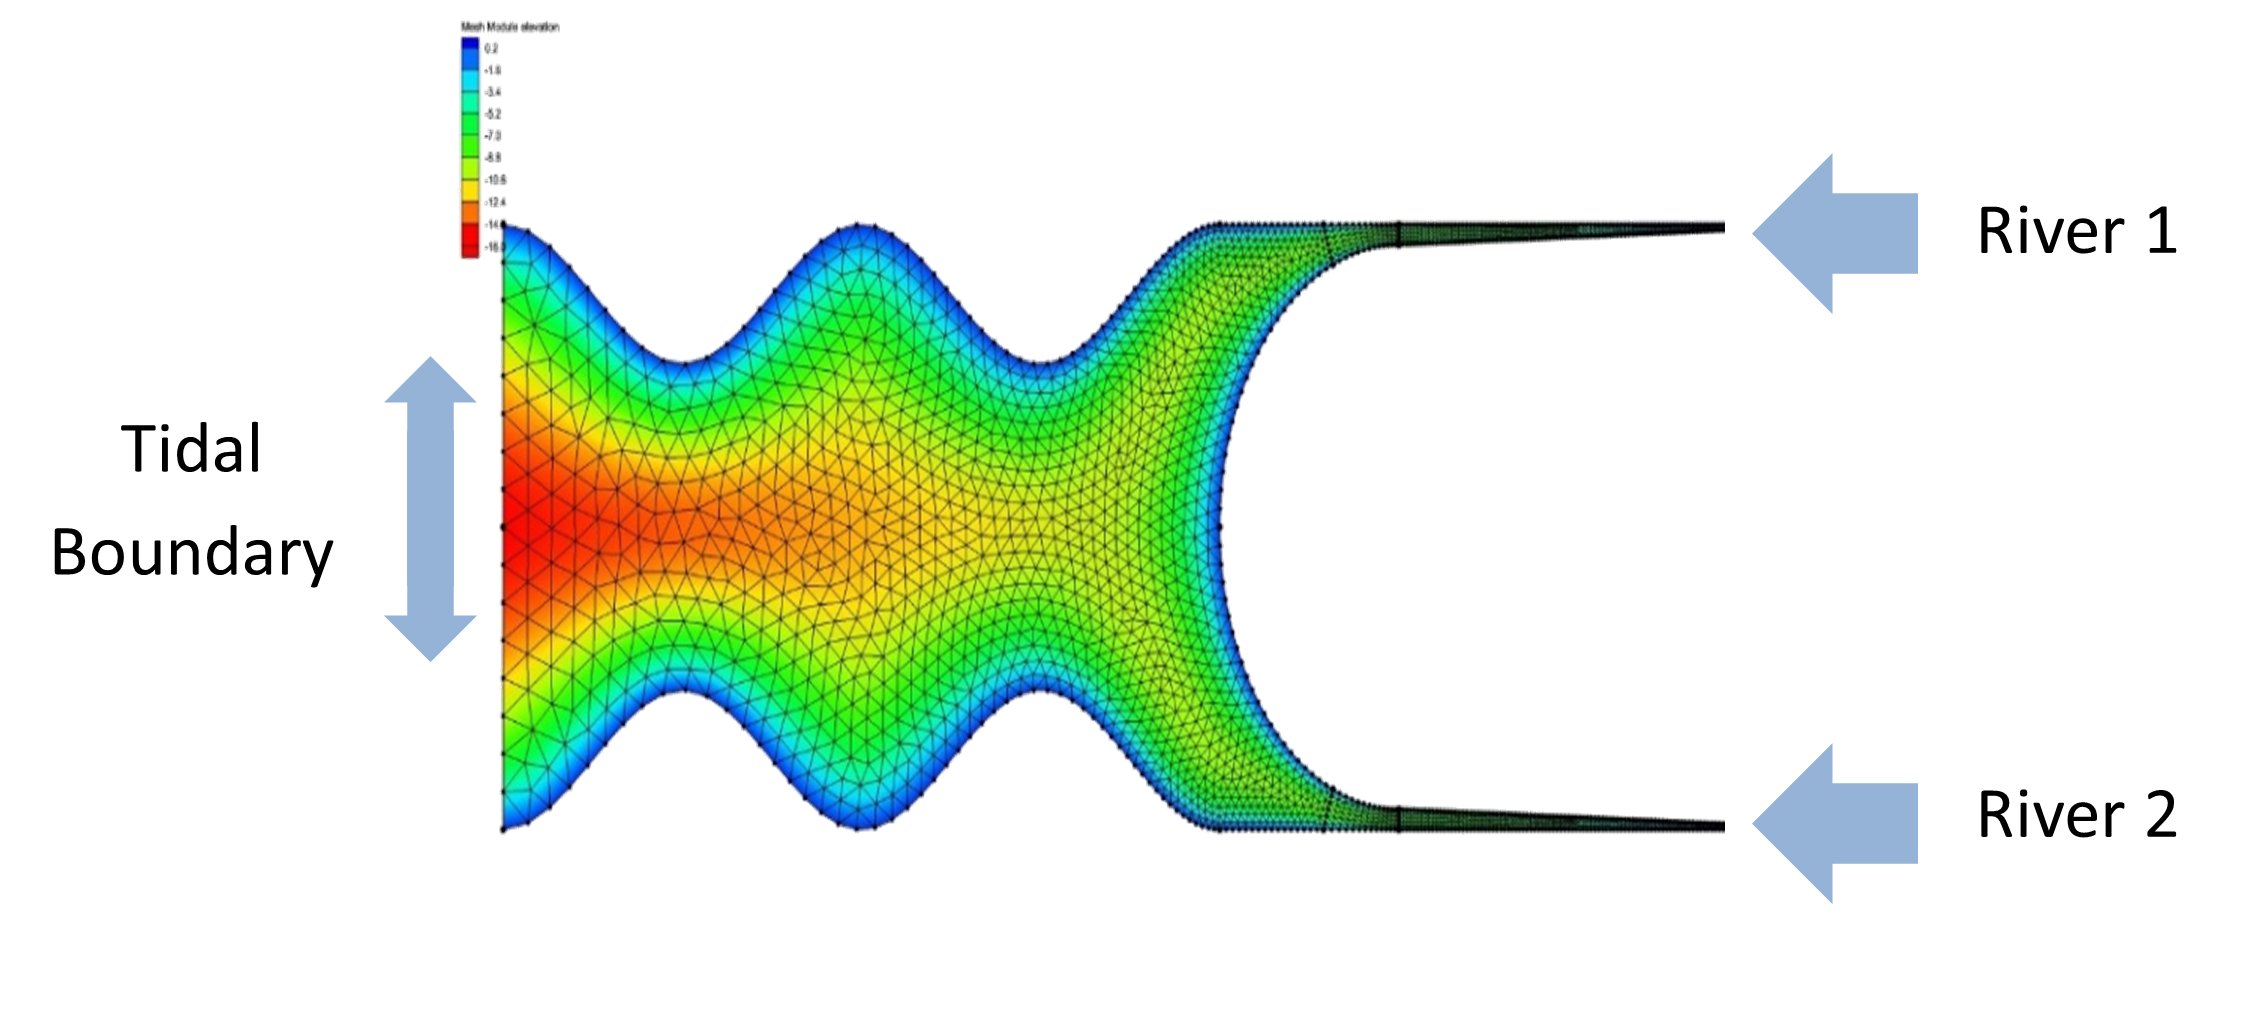
Fig. 1 Simplified domain used for Hello SCHISM practice problems. Ocean boundary is on the left, two river inputs on the right. Domain length in the x direction is roughly 56km
The modules found in the github repository contain the following exercises:
Module 1: Running the Model
Module 2: Running Pre-Processing Scripts
Module 3: Extracting Outputs
Module 4: Specifying Output Requests
Module 5: Visualizing with VisIt
Module 6: Modifying Boundaries
The explanatory material for these modules is found in this document, while the supporting data required to run through the training is found in the “modules” folder, with each Module labeled according to the above list. In order to have in-tact training material, it is recommended that you make a copy of the modules folder called “modules_working”. This way you can see the difference between your completed work and the original tutorial data.
Cloud-Computing Example
Note
There is a step-by-step guide to running the Module 1 of the HelloSCHISM tutorial on Microsoft Azure using Azure Batch and Azure Blob Storage. This guide can be found here: Hello SCHISM on Azure
SOFTWARE REQUIREMENTS
SCHISM
This training includes a ready-made Windows build of SCHISM 5.10 and SCHISM 5.11 found in the folders “.\software\schism_windows10_5.10_build” and “.\software\schism_windows11_5.11_build”. After downloading, installing, and setting up your working environment, you’ll want to add this folder to your path.
C++
For the above build to run on your machine, you’ll need to download and install the Microsoft Visual C++ Redistributable found here: https://www.microsoft.com/en-us/download/details.aspx?id=30679 Download both x64 and x86 and run the .exe’s
Warning
TODO: Change this so that the .dlls are automatically bundled with the SCHISM build folder
MPI
To run the model, you’ll want MPI installed on your machine. Go to https://www.microsoft.com/en-us/download/details.aspx?id=57467 and download MSMpiSetup.exe. Run the .exe and then add the path to your PATH environment variable (ex: C:Program FilesMicrosoft MPIBin)
Python
There are portions of this training that rely on schimpy – a DWR-made Python repository that handles pre- and post-processing of SCHISM data – and you’ll want to install this repository in your working directory.
If you are using anaconda/miniconda (recommended) download the `schism environment file`_ from the BayDeltaSCHISM repository, and enter the following command:
conda env create --name schism -f schism_env.yml
This creates a new environment called “schism” which contains the necessary packages to run through these modules.
This will take some time (~4+ minutes). The “–name schism” flag tells conda to install schimpy to the newly created schimpy environment. The “-f environment.yml” flags tell conda to use the yaml file provided in the software folder to download the necessary packages.
If you are not using conda do the following:
Download the latest version of schimpy from GitHub https://github.com/CADWRDeltaModeling/schimpy Copy the schimpy folder you downloaded into the scripts folder in your Tutorial folder (next to Tutorial_Modules and Software). The resulting folder will be “./scripts/schimpy-master”
VisIt
To visualize results, you’ll need to download and install Visit as well as the SCHISM Plug-In. With Visit you’ll be able to read in SCHISM binaries and visualize model results. The front end works with Windows, but the back end can reach Linux server results in the “server-client mode” – this requires the same version of Visit on both Linux and Windows sides.
For this tutorial, you just need to work on the Windows components if working on a Windows machine.
Download version 3.1.4 of Visit: https://github.com/visit-dav/visit/releases
Dowload the SCHISM and NetCDF plugins from the HelloSCHISM repository folder “software/visit_plugins”
Go to the Visit application folder (ex: “C:Users%userprofile%LLNLVisIt 3.1.4”) and copy the downloaded netcdf.dll to this folder.
Copy the following .dll files to the “VisIt 3.1.4databases”
ESCHISMDatabase_par.dll
ESCHISMDatabase_ser.dll
ISCHISMDatabase.dll
MSCHISMDatabase.dll
Egr3Database_par.dll
Egr3Database_ser.dll
EpropDatabase_par.dll
EpropDatabase_ser.dll
Igr3Database.dll
IpropDatabase.dll
Mgr3Database.dll
MpropDatabase.dll
You can ensure that the Plug-Ins are working appropriately by opening the VisIt application, going to File > Open File, and in that dialog box go to the “Open file as type:” drop-down to see if “SCHISM” is in the list of available file types.
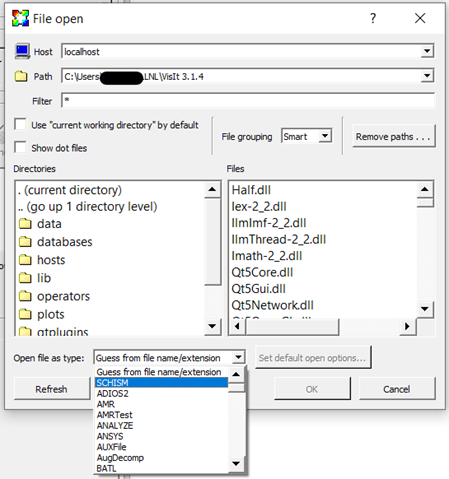
Fig. 2 A copy of the VisIt instruction manual for the SCHISM Plug-Ins is located in the base folder of this tutorial repository.
Documentation is done in sphinx with the sphinx_rtd_theme package.
Module 1: Hello SCHISM
Module 2: Preprocessor
Module 3: Retrieving Output
Module 4: Specifying Output Request Locations
Module 5: Visualizing with VisIt
Module 6: Modifying Boundaries